Sunday, August 21, 2016

Mini Combat Robot Finished

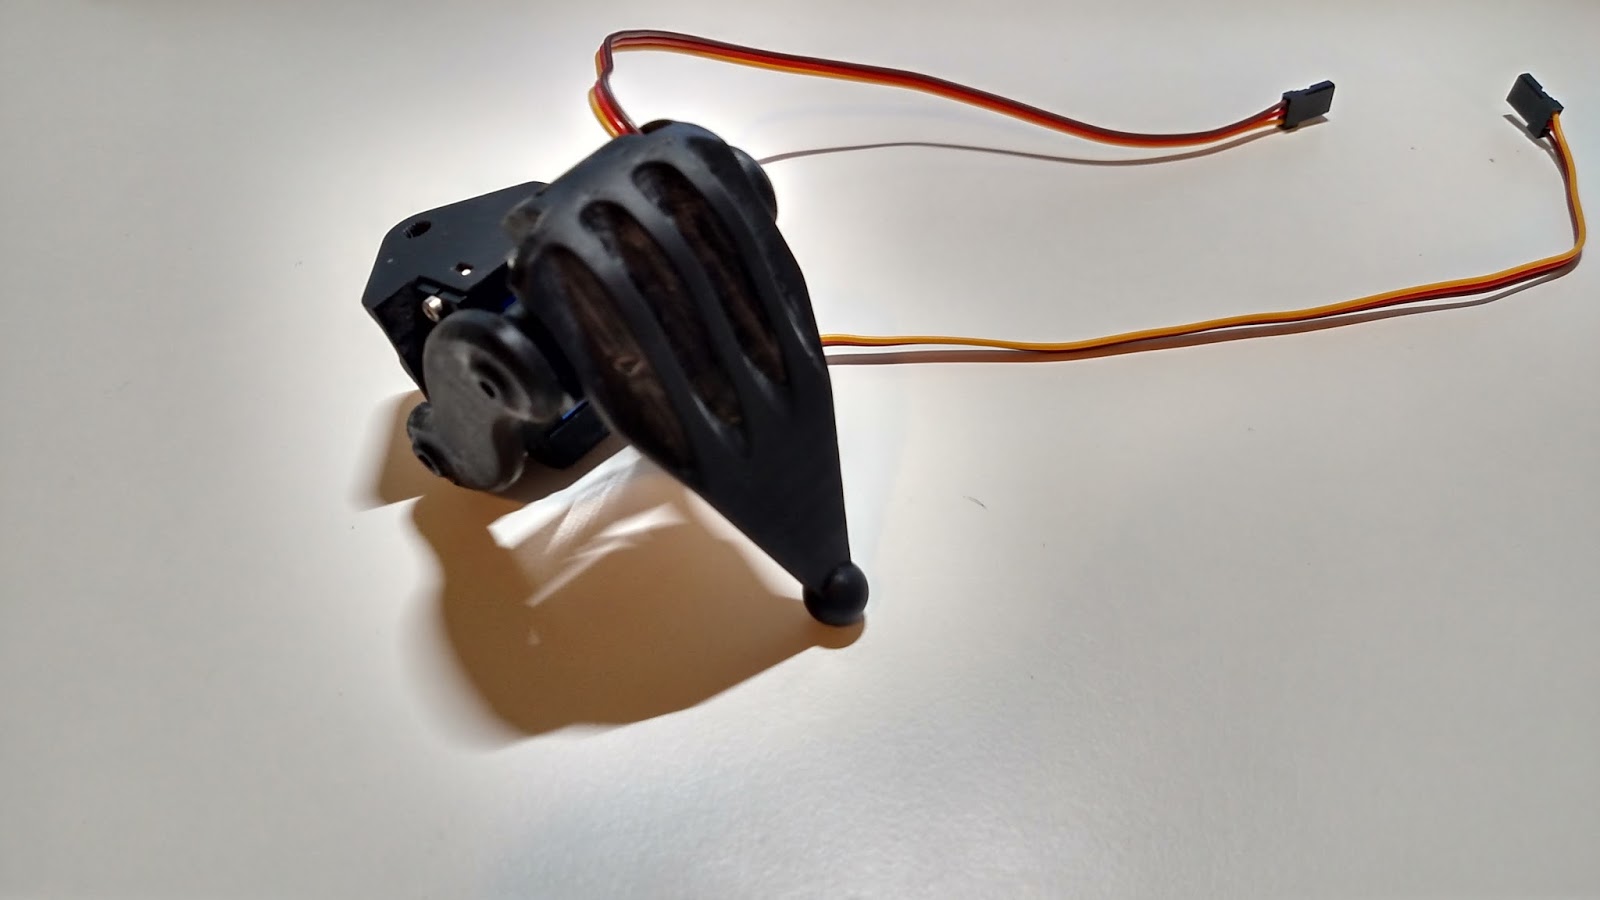
I finally found the time and resources to finish the last few parts on the robot. The first and biggest thing was finishing the spinner. I discovered though testing the polyurethane belts I had originally chosen couldn't handle the rotation rate and would stop transmitting any torque (they also melted from slipping). I opted to redesign the spinner using inside-out timing belt. I chose this for a few reasons... I used the timing belt belt inside-out to make sure it could still slip in an impact situation. This prevents the motor from being damaged by the near instant changes in rotation rate. I chose to use timing belt because it's much easier to find small timing belt sizes than it is to find small flat belts. The timing belt also has low stretch cord (fiberglass or kevlar usually) embedded in the belt.

The new timing belt design required the whole spinner be redesigned and made. Thankfully I had a friend with access to a 5 axis CNC. The new spinner is made from a billet of 7075 aluminum (probably not the best choice because it's more brittle than other alloys) with S7 tool steel teeth. I made sure the design could safely handle 30krpm without ejecting the teeth.

I disassembled the whole robot again, and broke it down into just the spinner assembly for testing. I had to do a bit of rework on the main plates to fit the shaft properly. The new spinner mounted properly the first try. I also put some armor surrounding the motor shaft to make sure debris can't damage the motor.

The belt tensioner can be seen on the underside. The original design didn't need one because I was using stretchy polyurethane belt. In this new design, the timing belt is pulled tight by a few ball bearings pressed onto a dowel pin. The dowel pin mount slides back and is locked in place by two screws. The mounting block has a precisely machined slot to keep the bearings perfectly perpendicular to the mount.

Here is a quick test of the spinner mounted to some random material I had laying around. A friend and I threw objects at the spinner to see how much it could damage it could do. The soda can is one of the most satisfying tests.

I also tried throwing 2x4s at the spinner. I wasn't taking video at the time, but the hit that damaged this chunk of wood threw the 2x4 well above my head. I quit testing at that point before I did something dumb(er) and injure myself.

The robot was pretty much done at this point. I just needed to wire everything up and get the top/bottom plates made from metal (I had some temporary laser cut acrylic plates). Unfortunately I couldn't figure out how to get all of the motor controllers and wires to fit. Everything was just too packed in.

I opted to get new motor controllers for the drive. Hobby brushless motor controllers have come a really long way since I bought the ones for the drive. The old ones were rated for 25 amps each. They also couldn't instantly switch from forward to reverse (dumb "feature" for RC cars). The new controllers (the tiny circuit boards in the picture above) are meant for FPV racing multirotors. They're rated for 30 amps and can instantly switch from forward to reverse (an important feature for multirotors that can fly upside down). I've used these controllers on my hexrotor, so I knew they were good and the ratings were not made up.

A quick test of the drive ended up shattering the old 3d printed spline couplers. I reprinted the parts with tough resin (a less brittle type of printer resin from Formlabs). These parts held up fine and are still in use.

I easily fit all of the electronics in the robot. I also finally mounted the power wires in the robot such that the lid could close and seal the battery in.

A quick test fit showed even the battery could fit. I added some pieces of dense/rigid foam in to keep the battery and spinner ESC in place. The foam has some squish, so it prevents the parts from getting too much force during an impact. I also finally got the top and bottom plates made. I gave up trying to get machine access to make the plates myself. I ended up sending them out to a local shop. They even used the material I had already purchased. The parts ended up really cheap. I will definitely send out any future waterjet parts to this shop. It ends up better quality and even cheaper than me paying for my own machine time at a place like the techshop.

The plates fit nicely and none of the electronics or wires are badly squished. It was nice seeing it finally done after starting the project more than 3 years ago.

It makes a really nice display piece of my bookshelf... I  don't have any competitions to go to, so finishing this was mostly just to have closure on the project.

The robot is pretty quick. The new drive ESC make it significantly easier to drive. It rumbles the floor pretty badly, so I probably won't drive this indoors again (don't want to anger the neighbors below).

A few months after actually finishing the robot I finally got a chance to test it on something. A friend had me pickup some Legos from craigslist for him. He didn't pick them up after the entire summer. Normally I'd be down to play with Legos, but these were kinda gross. They were covered in dirt and who knows what else. They took up room in my living room... something had to be done...

My roommate and I made a video to provide some "motivation" for my friend to pickup his Legos. We made a small house using some of the bricks (only the really common or already damaged bricks). The robot instantaneously disassembled the house (ignore my poor driving).


The spinner took a nice chunk out of one of the bricks. The video also worked well. All of the Legos were picked up within a day of posting on Facebook.

It was nice to finally put this project behind me (actually behind me on a bookshelf). I'll probably never have it actually compete at this point. I probably can't even use it to smash stuff since I don't have an arena or some other safe place to protect me from flying pieces. That being said, it makes a nice desk ornament and could be used if I ever have the immediate need for a small combat robot!

Monday, July 25, 2016

Hexrotor FPV Racer

It took a few months, but I got to the point of being machine limited when FPV racing. When I say machine limited, I mean I basically don't make mistakes and basically run at 100% throttle until the battery dies. The quadrotor also got to the point where it just couldn't keep up with the other racers. When I first started most quads ran with a 3S battery (3 lipo cells, or 11.1V nominal). In the past few months that trend changed to most people flying 4S batteries (14.7V nominal). The extra voltage makes the motors spin faster and provide more thrust. Most of the 4S quads have thrust to weight ratios of about 6:1, with some approaching 10:1. My 3S quadrotor... probably 3:1.

I first looked at retrofitting my quad to run 4S batteries, but I needed new motor controllers. The bigger battery would also shift the center of mass, making it unbalanced. Given the cost and crappy performance I figured I might as well dump some more money in and build my dream machine.

The first thing I wanted to do was correct my complaints with the typical frame designs. Mainly I wanted the battery protected from crashes. During the races a number of people would smash their batteries in a crash. LiPos are pretty volatile and I wanted to mitigate the risk of a battery fire. In addition to the battery armor I wanted the arms to be replaceable. It is much cheaper and faster to replace a single arm instead of the entire base frame plate. My quad has a cracked arm, and I didn't want to spend the money on a new frame plate (I fly more gently). Finally, I wanted the frame to be unique.

This led me to designing my hexrotor. There's one or two hexrotor frames available for purchase (small compared to the hundreds of different quadrotor frames). I also made it radially symmetrical, which is not something I could purchase. The hexrotor factor took care of the unique and cool requirement.

The rest of the hexrotor design focuses around protecting the battery. Most frames have the battery held (exposed) on the top or bottom of the quad with a few velcro straps. I worked to design the hex frame so it wraps around the battery. I split the hex into two portions, a base plate that handles power distribution (battery connector, motor controllers, and all of the wires associated), and a top deck that holds all of the electronics (flight controller, video camera, video transmitter, RC signal receiver, on screen display, and signal LEDs). The battery sits between the electronics deck and the frame. This ensures the battery is safe from damage... or at the very least I'll have already broken all of my electronics before the battery gets damaged. The battery placement also provides a very even weight distribution. The overall center of mass ends up perfectly in the propeller plane, meaning the hex is very well balanced.

I wanted the hex to be similar in size to a standard quadrotor, so I had to pull the props in closer to each other. This led to a problem... the FPV camera would see the props. Thankfully the top deck design eliminated this problem. The deck sits high enough that a highly tilted camera (necessary for these faster 4S racing quads) wont see the props.

Here is a printout of my hex in a 1:1 drawing next to my quadrotor. I like to make these 1:1 drawings to get a better feel for the design and to see problems I might miss on the computer. I guess I'm kind of old school for this kind of thing.

Without shop access I sent my parts out to be machined. I found a site that did custom carbon fiber parts specifically for FPV racers. The price was better than what I could find for just the raw carbon fiber plate. I ordered enough parts to make two frames as well as spare arms for each frame. The two frames and spares came out to the same cost as the one frame for my quadrotor...

The frame is a sandwich of arms between two main base plates. Most existing frames with replaceable arms use 4 screws, some of which are close to the edge of the arm. These arms always break at the screw holes. I used two screws for each arm, directly in the center. This minimizes the loss in strength of the arm from the screw hole placement. I also made sure that the arm will always fail before the base plate. What's the point in having replaceable arms if the base plate cracks instead?

The max center to center distance on the hex is 270mm, which is only slightly larger than my quadrotor frame which is 250mm.

I 3d printed all of the electronics mounts. This time I used tough resin. The tough resin is a newer formulation from Formlabs (the brand of my 3d printer). It can take significantly more impact before shattering. It also tends to be softer and more flexible.

I temporarily put the electronics deck on top of the frame to see how it would look. The frame looks very compact until the deck is raised to make room for the battery.

I couldn't find a power distribution board (they were all built specifically for quadrotors), so I had to just make a wire bundle. It isn't the most elegant solution, but I made it pretty clean.

Dealing with all of the wires and motor controllers was a huge pain. Mounting it to the frame took a lot of care to avoid getting things tangled, or putting something in the wrong place.

My desk was a disaster during the build. I should probably get a dedicated table to work on instead of my computer desk. The good thing is it makes me motivated to finish the project faster, otherwise I basically can't use my computer.

Here is the completed hex next to my quadrotor. It isn't significantly bigger, but it definitely has the cool and unique factor going on.

The battery used is a 1800 mAh 4S (14.8V nominal) 75C LiPo. 75C means the battery can be discharged  in 1/75 of an hour. Maximum continuous current is 135 amps! (1800 mA*75).

I added some addressable LEDs to the back. Each one can be set to any color. I have it set up to act as a turn signal as well as change color depending on the throttle and state of the hex (if the flight controller is armed or not).

The hex stacks up pretty nicely against other quads. The extra thrust is more or less canceled by the extra weight. The hex has no advantage over the quads except for some redundancy (in theory I can lose a prop and still fly). The hex is more dense than the other quads, which makes it slightly less vulnerable to wind. It sounds amazing and has a pretty intimidating effect on the other racers.

I ended up buying 8 batteries. This easily keeps me flying continuously as long as i have my 4 port battery charger in the field with me.

The LEDs really saved me in this crashed landing. The grass grew pretty high in the field I race in, and the hex buried itself in. Without the LEDs I might have permanently lost it.

I also later purchased a gopro and mounted it (5-28-2017). The new mount also came with a bunch of repairs and maintenance. I mostly just had to clean the electronics and replace an antenna that had broken in a nasty crash. It has two antennas (simultaneously receiving), so it didn't cause any issues.

Overall the hex has been a fantastic build for me. It met all three of my design goals. The arms are replaceable, but I have yet to break or even damage one. I think the sandwich design has enough flex to reduce the stress during an impact. It tends to cartwheel in crashes, which also reduces the forces on the frame. The battery armor design has worked FANTASTICALLY! I have flown into so much stuff, and the battery has been fine every time. As for my uniqueness goal... It really hits the nail on the head. The look and sound really get heads turning. The robustness and mass have also made it a bit terrifying in races. I have had a few mid-air head to head collisions, leaving the other quad needing repairs.

I will probably build an upgraded frame in the future as new electronics come out (maybe I'll make my own from scratch), or as the racing trends shift. For now, I am happy with the hex and It will be quite a while before I am once again machine limited and require a faster - higher performing machine.


Saturday, September 19, 2015

Quadrotor FPV Racer

I needed a new hobby. I just don't have the resources to do the kinds of machining projects I have been doing in the past. I kept seeing a really cool concept pop up on various sites: FPV racing. Basically people are building mini quadrotors (5" diameter propellers) and flying through various found obstacles (forests, abandoned buildings, playgrounds, etc...) or purpose built race courses with gates to fly through. Each racing quad had a small analog video camera and video transmitter. This sends low latency video back to the pilot. The pilot wears video goggles so it feels like sitting in the racing quad.

After watching some videos I knew I had to build one and get into this hobby. There are tons of tutorials online suggesting which parts to get to build one. I figured since I had 0 experience with FPV racing I would go with standard parts and make my own custom one after learning more.

A week after deciding I was getting into the hobby I had this show up at my door! I pretty much went with the standard parts from Lumenier. This wasn't the cheapest option, but I knew the parts were decent and would work together.

The frame was much higher quality than I had expected. The edge surface finish and dimensions were all perfect. I hadn't worked with much carbon fiber before this, so I finally got a chance to feel just how good carbon fiber's stiffness to weight ratio was.

Here's all of the power wiring. There's a nice power distribution board I could use to connect the ESCs. There are also LED boards that let me keep track of the quadrotor when flying without the FPV goggles.

 I made mounts for all of the electronics using 3d printed parts. This was much cleaner looking than the usual hot-glue and tape techniques used in all of the tutorials I saw for building this type of quadrotor.

Here's the final assembly. It looked super clean and was ready for a first flight. The radio mount was pretty heavy, but I needed something to protect it. I also didn't have enough room inside the frame to hold it.

I quickly discovered that my camera needed to be tipped upwards. When trying to fly quickly the quadrotor tips steeply forward. This means you look more at the ground than what you're flying towards. I could only tip the camera 15 degrees, but this made a huge difference for me.

I also made a carrying case for all of my equipment. I had the case lying around in my apartment, but it needed foam. I bought some furniture foam (bad choice: too squishy and hard to cut) and made cutouts for everything I needed for a day of flying.

I managed to find a local group of other FPV racers and finally had people to compete with. Unfortunately my riskier flying led to some hard crashes. The video transmitter mount was shattered in one impact. I need to get a less brittle material for the mount parts (or just make them harder to directly hit).

I also went through a bunch of propellers. Broken parts start to add up and really increase the cost of the hobby. Thankfully I only broke my 3d printed parts or propellers. The pricey electronics, motors, and frame have all held up well.

I also discovered the original FPV camera had some latency. This made flying very difficult. I opted to buy one of the popular "board" cameras.
 
The new camera left me with more space inside the frame. I was able to sit the video transmitter under the carbon fiber, so I saved a bunch of weight and made the build look significantly sleeker.

Overall FPV racing has been a fantastic new hobby to get into. It take a fair amount of practice to be competitive with the other racers, but the feeling of flight you get is worth all of the effort. It's like a video game, but much more exciting. Crashing has real consequences (breaking expensive parts), which really gives an adrenaline rush. It's also cool being able to see the real world from a new perspective, something you just can't get in a video game. I still need to get a proper recording camera so I can share my best crashes.

Friday, July 24, 2015

Cheap Hexapod Mechanics

I worked to redesign the hexapod using a more robust set of servos. I concluded plastic gear servos would all fail, so I went with the cheapest full metal gear servos I could find online.

I bought a number of servos to test. Most of the metal gear servos had one plastic gear inside. I could generally strip the single plastic gear after rapidly back driving these servos by hand. I only managed to find one all metal gear servo in the size I wanted. These came out significantly more expensive than the older plastic gear servos at around $8 each. Even with the increased cost, the hexapod is still significantly cheaper than typical kits.

Since I got new servos I had to redesign the legs. The original leg design wasn't very elegant, and it didn't take advantage of my 3d printer enough. I redesigned the legs with a more compact collapsing design. In addition, each leg was designed to be fully modular. This gave me more room for an electronics compartment. I also got black resin for my printer. I figured the parts would look more professional if they weren't clear.

 The black resin is very hard to photograph on my white table. The new leg hides the servos much better than the last one. I also through through some of the cable management this time. I even added special conduit in some of the frame parts to keep each wire organized.

I decided to make the main body a single piece. This ended up being my largest print to date. I'm lucky it finished without any major problems. The surface finish on the parts was starting to degrade at this point. I later (after calling Formlabs support) found a single piece of dust on one of the galvo mirrors (the mirrors that sweep the laser to draw the part) will create a very rough and improperly cured surface.


The supports had to extend into the part. this made cleanup a pretty big pain. I integrated all nut holders as well as strengthening ribs into the frame. This part was really complex to draw up. I also made sure to fillet as many corners as possible to reduce the likelihood of shattering the parts.

The first test fit of the parts. It looks like there is a massive amount of room inside the body, however the center hole is the location for the battery and battery cover. I plan to use a small 3 cell (11.1V) LiPo battery. The new body is much shorter than the last hexapod design. The legs also fold up much nicer.

I printed the top cover (raspberry pi mounts to this) and sealed up the body for the first time. I also added some cable sleeves to the servo wires. Unfortunately these are a pretty big pain to deal with. I decided to skip out on them for the final assembly.


I finally ordered all of the servos after finishing the full design and checking to make sure the leg was durable and cleanly implemented. The servos have a blue anodized body. The branding is held on my stickers, so I removed them all to make a very clean looking build.


I also bulk printed the rest of the leg parts. I used a huge amount of printer resin for this project. My desk ended up an unusable mess again...

 After too many hours of assembly I finally completed the mechanics. This thing is pretty massive given the size of my printer. I also love how it is radially symmetric on the outside, unlike the last hexapod design.

 The legs fold up nicely to make a compact frame. The servo wires are left unshielded, but they don't really detract from the aesthetics and shouldn't have any wear issues from rubbing on joints.

 The hexapod gets even bigger when I expand out the legs. It is somewhat hard to make it balance properly without any power on the servos. There is enough gearing to prevent backdriving of the legs if all of the legs are touching the ground.

 The ground clearance is pretty large too. The legs have significantly more range than what is shown. I think I will be able to give this some very life-like animation once I get around to finishing the code.
 
 The wiring ended up extremely clean. Each servo driver board could handle 16 servos. I only had 18 total, so I split the servos evenly between the two driver boards. This is one of my first projects where I attempted to design for cable management. It really paid off and made the overall build much cleaner.

 I still haven't purchased any batteries for the hexapod, so I run it from a 12V power supply. Everything is controlled and programmed over wifi because the hexpod runs on a raspberry pi. I simply SSH into the os and run everything from the command line. Eventually when I finish the code I'll add in joystick control, but for now I can just enter simple commands.

 Calibration of the legs and most of the testing was done upside down. This prevented the same disaster I had before with the improper walking algorithm. Slamming the entire body weight on one servo due to bad code might break a servo or leg joint. The body weighs enough that it doesn't tip over.

Here is the first test I ran after calibrating all of the leg servos. I found the end points for each servos travel and matched them between all of the legs. The code now knows the angle a leg points when given a particular PWM signal to a servo. Not every servo responded the same, so I had to do each joint individually. This video shows the full range of each joint.

The first (and only) walking test I made was a turn in place. My inverse kinematic models seem to work. I will need to make a generalized walking algorithm in the future.

Overall the new mechanics are leagues ahead of the old design. The newer servos are much more powerful and durable than the old ones, which really justifies the slightly higher cost. I told myself I wouldn't start any new projects until finishing this one. I guess I'm kind of cheating because I made it walk in a circle and I'm calling it "done". I have plans to create a generalized walking algorithm in the future, one that doesn't have predefined gaits. I want the hexapod to walk more like a living creature than a robot.