Showing posts with label Guitar. Show all posts

Monday, April 27, 2015

Guitar Upgrade Parts

It has been a few years since I built my guitar. I've come to be very annoyed with the shape and weight balance of the body. This comes down to two complaints. First I can't sit with the guitar on one leg like any regular guitar, which makes playing it in a relaxing position a very difficult task. Second I can't play with the guitar while standing up and hanging from a strap. The heavy neck and head had shifted the center of gravity fairly far forward. The guitar tended to tip forward even with the extended front strap mount.

After thinking about the problem for some time I figured I needed to look at the center of gravity in relation to the two mounting points for the strap. Looking at it now, the CG is obviously going to pull harder on one end of the strap than the other end when hanging in a comfortable playing position. I concluded I needed to make the CG as close to centered between the two strap mounts as possible. I figured friction between the strap and the players neck could tolerate some unbalanced CG.

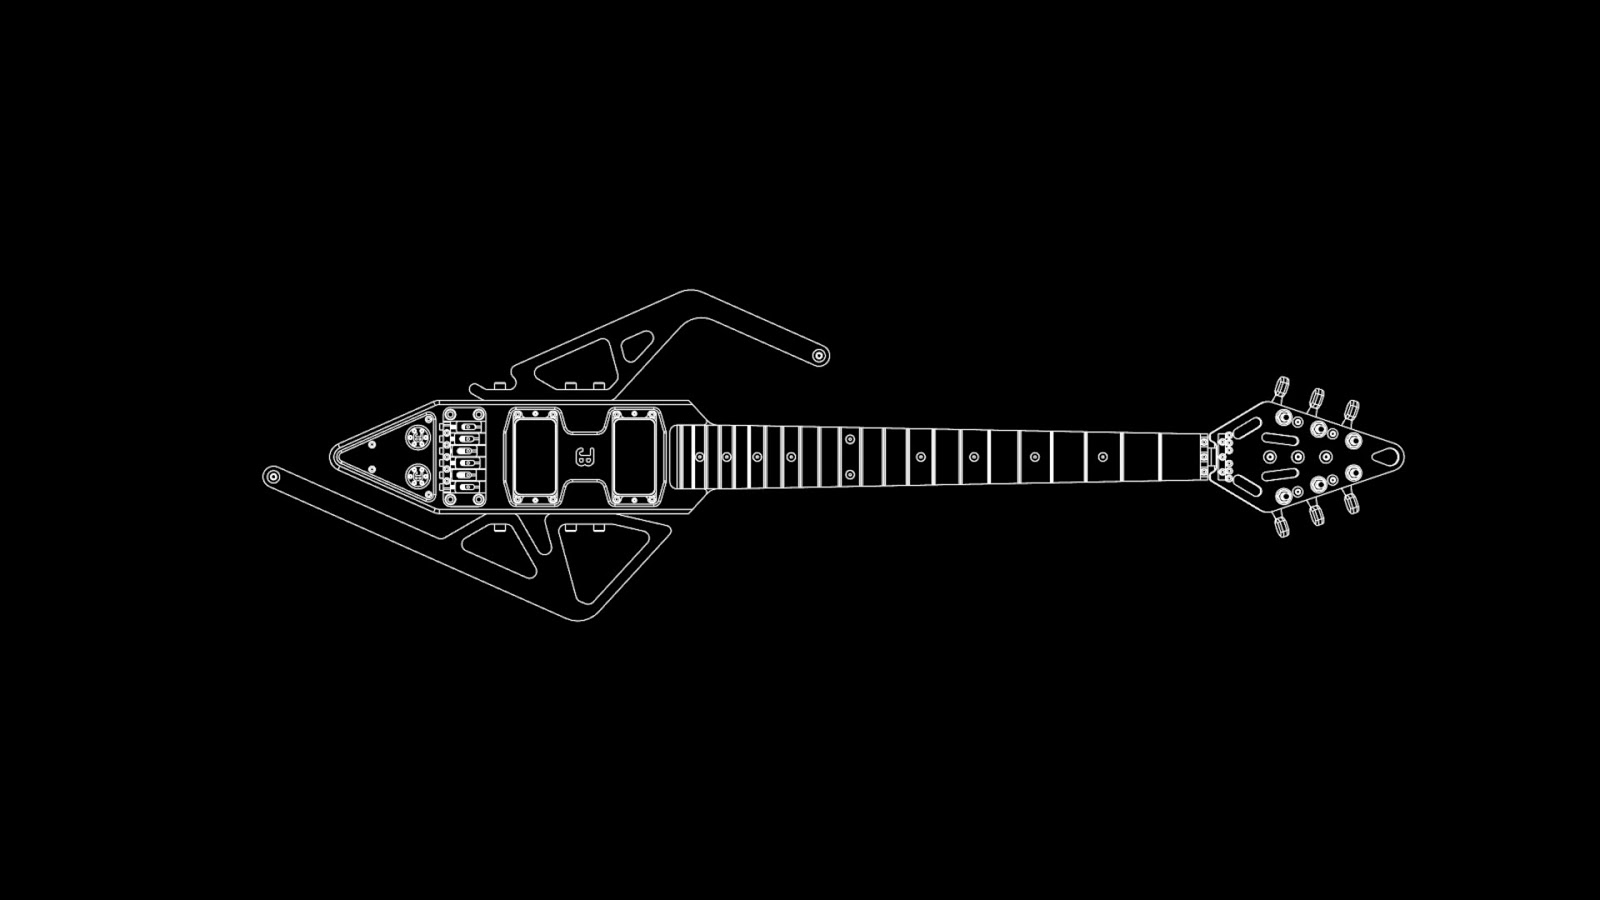
I designed a new set of side plates for the guitar. These plates differ from the originals in a few ways. First, they're wider than the original plates. This reduces the contact pressure on your leg when playing. Second, they have a concave shape. This allows me to stably rest the guitar on when leg. The concave shape makes it significantly more comfortable to play for extended periods of time. Third, the new plates have more mass in the back. This shifts the CG further back and helps to mitigate the tipping seen in the old design. Finally, The strap mounting points were shifted to be more centered on the CG. I didn't make it perfectly centered, but the strap should hold some imbalance in the weight by friction on my neck.

I think the new plate design just looks a lot better than the old ones. I had more input from friends on what looks good / bad as well as ways to fix what doesn't look good.

The upgrade parts really did the trick - I can comfortably play the guitar while sitting or standing. There is still a small amount of weight imbalance when playing while standing, but it doesn't prevent me from using the guitar. The old design was mostly impossible to play when standing up. The bigger side plates did add some more mass to the guitar. The old design was about 10.1 pounds, while the new design is around 12.6 pounds. I think I need to make a new guitar from scratch if I want to drop the weight and get the right weight balance. I think the neck and especially the head really mess up the center of gravity because they are the furthest portions from the body. An easy improvement would be changing the fretboard material to something less dense than stainless steel (titanium or aluminum). Overall I'm pretty happy with the guitar in its current state, and I probably won't get or build a new one for quite a while.

Saturday, December 15, 2012

Guitar Finished

The guitar is finally done! It has been more than 2 years since the first line was drawn on my computer, which  isn't bad considering it was originally an exercise to see what I could CAD. The finishing parts I made since the last post were the pick guard, the and the potentiometer knobs.


The pick guard was pretty straight forward to machine. I had to use a fixture plate to hold it because my stock was the same thickness as the part. I also used a countersink to add a really clean chamfer around the part. It took a little longer to machine, but makes it much more friendly to handle. I would prefer not to injure myself when rocking out.


The knobs were pretty fun to machine. I used my boring bar for all of the lathe work so there wouldn't be a need to zero the tool more than once on the manual machine. I also needed to turn tapers for the custom collets inside the knobs. Using the same tool for both the internal and external taper without changing the compound tool post position ensured perfect grip.


The collet potentiometer knobs are much better than the lame setscrew or press fit types. The bolt circle on the top also looks really cool.


All of the polished parts look really great. The bridge is probably my favorite part of the guitar. Everything fit together perfectly and the screws fit in seamlessly with the different components.


The pickups fit nicely with the pick guard. The only thing missing is the addition of my symbol to the center. Once I get a proper sized endmill I'll add it onto the part.


The completed assembly is pretty classy looking. It turned out very different from the original sketches I made as part of the CAD exercise, but I really like the way it looks now.

Here's my list of pros and cons for the final product.

Pros
-Sounds better than my other guitars. (probably the nice pickups, but it might be the solid aluminum construction)
-Don't need to worry bout breaking it (I don't have a case yet, but wrapping it in a towel to protect from scratches seems to be totally adequate)
-The neck feels really nice. The 3D profile machined ridges make a really neat texture.

Cons
-The weight balance is pretty bad. The body is well pocketed out, but the neck and head are fairly solid. Even with the extended body shape, the neck still tends to tip down when playing with a strap.

I could only come up with one con. That's pretty good! Since the side plates are easily replaceable, I can always quickly readjust the balance with a set of shiny new plates.

Monday, October 22, 2012

Guitar and Desk Lamp Updates

I haven't concentrated on either the guitar or desk lamp. I really only get time to work on Friday nights after dinner until the school shop closes. The other days are reserved for homework or club activities (New combat robot club at school). The guitar only has the pickup cover plate and the potentiometer knobs left. The only new parts for the lamp are half of the base and the electronics.

I had to redesign the side plates of the guitar... I was looking over the CAD again and realized the center of gravity was over the fret board. This is very different from a normal guitar because the body is usually heavier than the neck. I modified the top plate to reach out far enough to ensure the center of gravity is between the two strap  positions. I know its still not centered between the strap connections, so it will still want to rotate down, but I should be able to play it with the current design. After playing the guitar for the past few months I noticed the best way to play it because of its "unique" center of gravity placement was to place the point at the bottom of the guitar under one leg. That's why the top doesn't have a leg thing sticking out.


Machining the side plates was fairly straight forward. I didn't quite have the right clamps, so I used washers, which worked great. Some needed support on their opposite sides, so I stacked a few screwdriver bits to be 1/2" tall. The parts came out perfectly and the clamps didn't slip.


Putting the holes in the edges of side plates was a little more difficult. I had to align them in the vises. The hole positions aren't very accurate relative to the part, but they're perfect relative to each other. The only tolerance that really mattered was the spacing on the holes, not their absolute locations.


I still haven't done the pickup cover plate, so I still need to use blue tape to hold it in. I finally switched to the chrome plated Gibson pickups. They sound better than the used beaten-up one I was temporarily using. I also need to polish the side plates, but that's fairly time consuming, so I'll put that off for a while.


I also finished the body, so the guitar now has a legitimate jack. Its nice not having to zip-tie and solder the cable to the pickup now. The volume potentiometers are mounted, but I haven't wired them in yet. I still need to machine their shafts down for the knobs to fit properly.


The guitar is getting close to matching up with its render. I added a wooden thing to the render so it wasn't laying in a strange orientation. I will not be making that part.


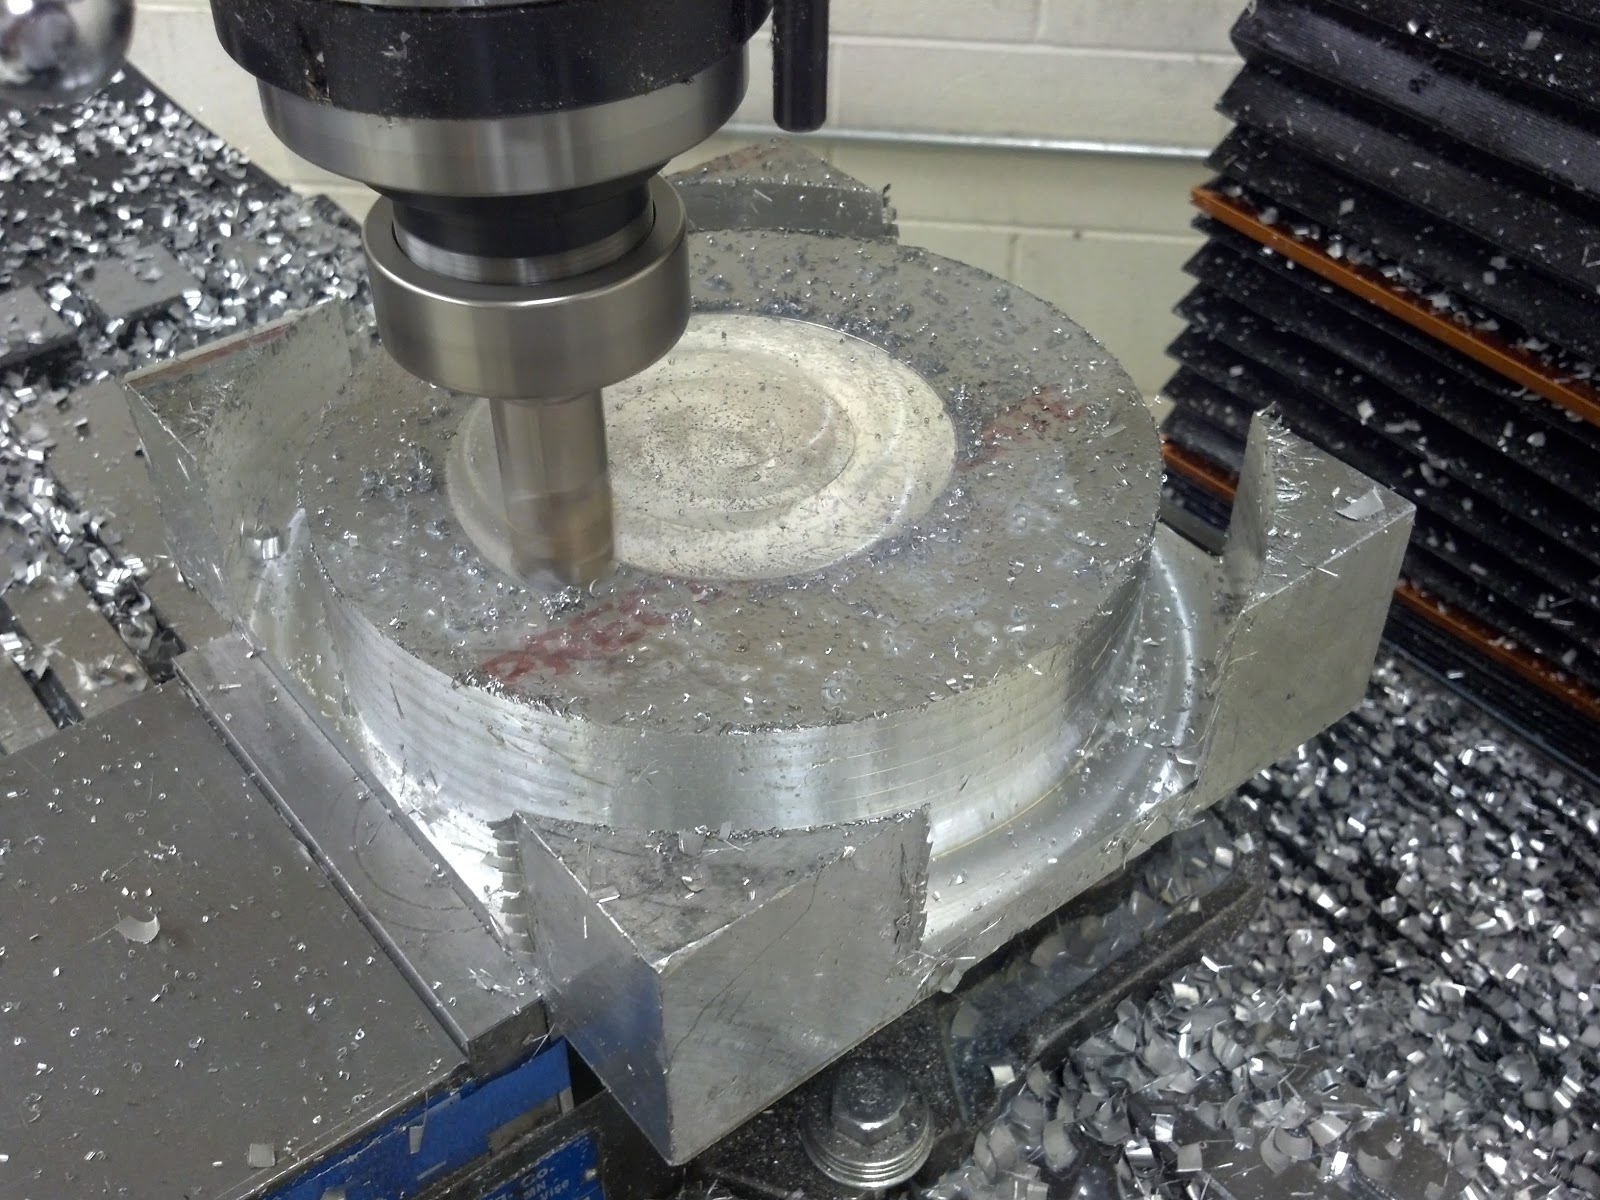
As for the lamp, I got to try out my new indexable end mill. The original block was 20 lbs of aluminum. I think it was 6061, but I'm not really sure because I bought it from a metal recycling place. It was less than 1/4 the price of a new piece, so I figured it was worth the risk on a part that's essentially an aesthetically pleasing paper weight. I brought the part down to around 12 pounds. If I had a coolant system to clear the chips I'm sure I could have cut alot faster. My cuts were 1/4" deep and 1" wide. The machine was pretty much silent while slotting. I was really impressed with the endmill's quality.


For size reference the base is 8" in diameter and the endmill is 1" in diameter. I was glad I thought ahead and assumed the endmill's edges weren't perfectly square. It left ridges as I cut deeper, so I was forced to surface the outside with a 6 flute HSS endmill. I've heard its a common problem with these types of endmills, but It's also possible it was my fault for buying the inserts from a different supplier than where I purchased the holder. I think I understand the carbide insert codes that determine their dimensions and tolerances. I may buy the more expensive aluminum specific inserts if I have another large amount of material to remove.


The hardest part about machining this was cleaning up the chips. 8 lbs of chips thrown all over the mill and floor is painful to clean up. That's the biggest reason I've put off machining the top side. I'm probably going to finish the guitar before the lamp because it is a lot closer to completion, but I might do the lamp first. It all depends on what machines are available for use.

Monday, August 20, 2012

Guitar Assembly

It's been in this state for over a month. I'm slowly coming to the sad realization that its going to be at least another month before it gets past this point. The good news is that I have it assembled and playing even though I'm missing most of the electronics and most of the pieces that make up the body. The bad news is it's somewhat difficult to hold while playing in it's current state.

The last big piece I needed to make it function was the main body piece. I was very fortunate to get access to a machining center. Always take up opportunities to make parts on a real CNC. The body was 90% machined in 2 setups. One setup to get the top and one to get the bottom. While getting the tool paths generated took some time, the machine time was a few minutes for each side. That's pretty fast considering the amount of material removed. Auto-tool changers and flood coolant really make aluminum parts fast to machine. 


This is one of my favorite set-ups of all time. I had trouble coming up with a good way to run the wiring from the pickups to the electronics area without the need for a large plate to hide the slots for the wires. My best idea was to drill a hole straight through half of the body. I got to use a 12" long .1875" diameter drill bit. It wasn't really any different from using a normal drill bit... I just thought it was cool. Once I get around to finishing the body I'll counter bore the end of the guitar body so the connector will seat cleanly in the end. The end result will be a very clean looking electronics setup, but it isn't what I would call friendly to machine.


Everything bolted together nicely. I chose to run the lightest gauge strings I could find at my local music store.     I strung the guitar over a month ago so I honestly don't remember which size I used. They took a lot less tension than I had expected. The neck can easily handle thicker strings but I figured I would try out some thinner strings and see how they work with the incredibly rigid aluminum construction.


 Alright... It doesn't quite look like a guitar yet, but its getting there. If you only look at the neck you couldn't tell it's incomplete. The main reason for assembling it without all of the pieces, aside from my lack of patience, was to make sure it sounded decent. The all aluminum design is kind of risky. Most guitars are made from wood, which is a dead material. Dead materials make a thud when hit. Aluminum will ring for quite a while when it isn't damped by something like a hand. Tap-testing a number of the guitar parts including the body made deafening rings that lasted for minutes. After assembling everything the guitar became dead. My guess is that it's due to the bolted joints and the dissimilar materials. In any case it doesn't resonate badly.


 One of my favorite parts of this guitar is the string alignment system. I had to align the strings before passing over the nut. My system uses quite a few stainless parts, but it looks pretty cool and seems to provide near-frictionless alignment.


Overall the sound of the guitar so far is pretty amazing. It has a brighter sound to it than my other guitars. My wooden guitars sound muffled. Since this guitar has different pickups, electronics, and strings along with the aluminum construction I don't know what makes the difference. I do know that I like this guitar's sound better than my other guitars. I've been playing it for over a month now and I just can't will myself to play my wooden guitars. The metal neck has some serious mass to it. When playing solos the wooden guitars can't compare. The thinner strings probably contribute to how easy it is to play, but the solid feeling when I press down on the fret board really makes a big difference as well. The wooden guitars just feel light weight and cheap in my hand. The best way to describe the feeling is holding a solid metal product in one hand and a plastic one in the other hand. The metal almost always feels higher quality. I'm sure most people that play a wooden instrument fear that a neck might snap if it's dropped or mistreated. Not with this guitar. If someone were to try to smash a guitar like this at the end of the concert they would be left with a broken stage rather than a broken guitar.

Pros (so far):
-Brighter sound
-Quality feeling
-Easier to play fast (may be due to the strings, but the solid feel definitely helps.)
-Unlikely to break

Cons (so far):
-Hard to hold (it's missing most of its body)
-Lack of adjustability (It currently has one pickup directly wired to the amp. No volume or pickup selection yet.)
-Thermal stability. The guitar has a warm-up period where it goes out of tune until you play it for a bit. The tuning goes sharp as I play, so it can't be the strings slipping. Since the strings are steel and the neck is aluminum, the neck should expand faster than the strings with an increase in temperature. This should put more tension on the strings and raise the pitch. I haven't confirmed this as the reason for the tuning shift, but I can't come up with a better reason given the conditions.

I'm pretty excited to finish this project up and see how others feel it compares to normal guitars.

Wednesday, June 13, 2012

Guitar Bridge

I finished the bridge on the guitar! I actually started it last summer when I made the string adjusters and half of one of the parts that makes up the base. I made most of the base at school but still had to complete the half finished part. It took me less than an hour to pop it out (including writing the code which is done by hand rather than with a CAM program). 


I also have a new phone so the camera is less blurry (mostly because it doesn't lag while taking pictures).

I also finished up some more of the head last week.
 I had reverse-engineered some tuning knobs into my CAD from a drawing that I had found online. When I went to one of the guitar stores I found the EXACT same ones I had found online. I had to buy them once I realized that. It saved me a ton of time when designing the head.
The head turned out pretty nice. It still needs the string alignment posts.  I have the material for those turned down to the right diameter, but I still have to cut them to length. Ill finish those when I get bored milling and want to switch to running the lathe.


 I also got a new set of calipers. They're a bit bigger than my old 6" set. You can really only make parts as accurately as you can measure them, so I figured it would be good to get a HUGE (40") set of calipers to make those giant parts to within 0.001 inches. It looks like my neck is about 0.001-0.002" over 19". I'd say that's pretty good considering I had no way to check the dimensions of my part as I was machining it.


The guitar is slowly coming along. If I finish the main piece for the body I'll basically have it in a playable state. I hope the resonance of the aluminum gives it a unique sound, but doesn't make it sound awful. I do have some plans to add damping material into the neck if the resonance makes it sound strange.

Tuesday, May 15, 2012

Guitar Neck

The last few days of school were hectic. I managed to secure the time I needed in the shop and pumped out the aluminum part of the neck. I also was able to pack all the junk in my dorm room back into my car. The poor thing was probably past its maximum cargo capacity especially with all the material I accumulated over the semester.


Profile machining the neck took alot less time that I had thought it would. I didn't want to switch the CNC to 3-axis mode, so I did everything by manually adjusting the Z axis. It was a little slower than running full in CNC, but it kept me from scrapping the part with a stupid code error. I think there were 8 or 9 passes per side. It was machined with a 3/8" ball end mill. It has a really cool machined texture. Its much better than a perfectly smooth curve.


I realized my camera was at home, so I used my wonderful cell phone camera. I'll work on increasing the picture quality in the future.


I don't think I need to polish the neck either. The machine left a nearly perfect finish on all of the parts. The dimensions were all within 0.001". I love it when a part comes out perfect. I still need to break all the sharp edges or I'll lose a finger when I slide my hand across the fret board.

Tuesday, May 8, 2012

Guitar Fret Board

I've started to move into guitar production. With school ending soon, by opportunity to use a large CNC is also ending soon. I figured I'd do the pieces which were the most difficult to machine first so I might have a hope at finishing the leftover parts during the summer.


Using 2 vises is GENIUS! They made the setup much faster than if I had bolted the part to the table. I left them on the machine (usually there is only 1 per machine in the school shop). I'm pretty sure others will appreciate not having to unbolt the vise anytime they want to make a part larger than 8" wide.


 I missed a bit of the surface while facing the top. It really didn't matter because it would be almost completely machined away while cutting the frets. The fret marker screws were cut perfectly so they would be flush once the frets were machined into the board.


The pattern from the tool path looks really cool, so I've decided not to polish the fret board. It isn't really visible in the picture, but all of the frets were rounded with a corner rounding endmill.

I hadn't machined any stainless in a while, so I forgot how painful it is to machine compared to the usual aluminum. The machine really wanted flood coolant, but I didn't have that option since the machine wasn't fully enclosed. Next time I'll make sure I use a full machining center when I go to make a big stainless steel part like this. I was also too lazy to do any bit changes so all of the frets with a 1/4" carbide end mill. It just slowed down the process to the limit of my patience.

Also I've just about had it with my cell phones camera... the pictures it takes look like crap. I swear they get worse every day. I'll probably go back to using a real camera instead.

Sunday, January 15, 2012

Guitar - New Project


Hey! It's a new project. Ok... I lied. I sorta played around with designing a guitar over a year ago. However I didn't get serious about it until now. I made a few pieces last summer to test a new vice I bought for my CNC.

I attempted to make the bridge for the guitar. The aluminum adjustment pieces turned out great. The prototype plastic bridge machined fine (except for a minor code error that cut through one corner). I didn't like the feel of the bridge, so I redesigned it. I probably won't be able to make any parts for a while until I get access to the large new CNC machines at school. 

Here's a few renders of different revisions of the guitar design:


The evolution of the design has made the parts machinable and the material affordable because I no longer need a 300 dollar billet of aluminum to make the body. The lightening pattern not only makes it look better in my opinion but it also drops the weight down to a normal-ish guitar. Oh... I'm not sure if I pointed out that the thing will be entirely made from metal. The majority will be aluminum, while the fret board and screws are stainless. I figured a stainless steel fret board would scratch less easily than an aluminum one.

Some key features to this current design are:
- Countersunk hex socket screws for fret markers. They also hold the fret board to the neck.
- A 3D profile machined neck.
- Interchangeable parts. If I decide the design sucks after I make the guitar, I only need to change some of the parts. The design is split into many different parts that bolt together, so I can always replace parts that don't perform the way I want them to perform or if they get damaged.

Hopefully I'll get this project machined in a timely manner unlike the long board.